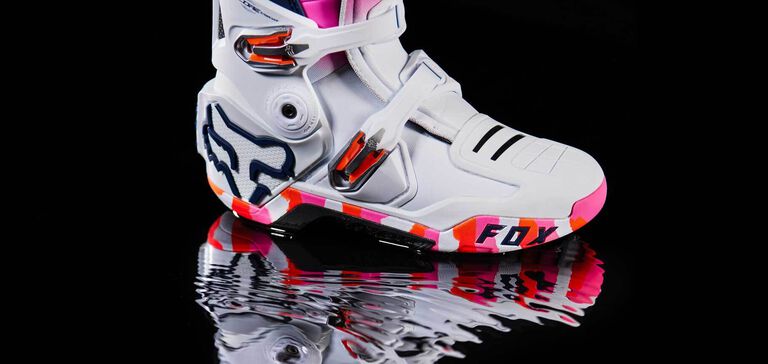
How to Care for Motocross Boots
Here is a step-by-step guide for how to care for and clean dirt bike boots. By following these steps, you can keep your dirt bike boots clean and well-maintained, which will help prolong their lifespan and keep them looking their best.
Step 1:
Set Up
To prepare your boots for washing, I recommend unfastening all buckles except for the top one. This approach allows thorough cleaning of the boots while maintaining a nice seal at the top. By placing your hand inside the boots, you can prevent water from entering the interior during washing.


Step 2:
Spray Down
To effectively clean your dirt bike boots, you can use a pressure washer. If you don't own one, you can use a hose with a high-pressure nozzle. To prevent water from entering the boot, place your hand inside the boot while spraying them down. Spray every side including the bottom; this step will eliminate most of the heavy dirt and mud.
Step 3:
Soap, Scrub, & Rinse
Apply soapy water to the boots, ensuring that you cover all crevices and hard-to-reach spots, with particular attention to areas where dirt may be concealed, such as buckles and the sole. To thoroughly clean the boots, use a good brush and scrub every part of the boot, including the bottom and under the buckles. Once you've scrubbed the boots, give them one final spray to remove any remaining soap and mud.
QUICK TIP:
We recommend a medium bristle brush and a cleaner like Mr. Clean with Febreze additive.


Step 4:
Drying Your Boots
Drying your boots is crucial for their longevity. If you have access to an air hose, it's an excellent tool for removing water and dirt from your boots, including the buckles and hinges. Alternatively, or as a next step, ensure you wipe down the entire boot thoroughly. This includes getting behind the buckles and shin plate, and anywhere else possible to achieve the driest boots possible. Remember, the drier your boots, the longer they'll last.
Step 5:
Tighten
Inspect all the buckles and bolts to ensure they are properly secured. Open each buckle and check for any looseness or play and tighten as needed. After tightening everything, re-buckle each buckle.
Note: If your boots feature a hinge, such as the Fox Instinct and Motion boots, it's essential to tighten the hinge bolts. If you happen to remove the hinge bolt, ensure you reapply Blue Loctite upon reinstallation.
QUICK TIP:
Fox Racing boots use a 3mm allen wrench for buckles and a 4mm Allen wrench for the hinge bolt.


Step 6:
Check Contact Areas
The primary areas of contact on your boots are the rubber burn guard and outsole. It's crucial to inspect the grip and ensure that the rubber is not coming apart where it rubs against the bike. Additionally, I suggest checking the sole of the boot regularly. You can do this by visually examining it each time you wash your boots. If you observe any holes or damage on the bottom, it may indicate that it's time to re-sole your boots.